What Progressive Muscle Relaxation Is — and Why It Works
Progressive muscle relaxation (PMR) is a technique developed by American physician Edmund Jacobson in the early twentieth century. Its core insight is straightforward: deliberate muscular tension followed by sudden release creates a state of deeper relaxation than passively trying to relax. By working through the body's major muscle groups in sequence, you train your nervous system to recognize what physical tension actually feels like — which makes releasing it far easier.
This approach sits within a broader family of body-based practices. If you are curious about how it compares to mindfulness-style methods, our article on body scan vs. progressive muscle relaxation walks through the differences clearly. For context on why this kind of practice produces real physiological change, see the science behind relaxation — it covers how techniques like PMR activate the parasympathetic nervous system.
PMR is also considered an active relaxation technique: it requires you to do something, rather than simply be still. Many beginners find this much easier to sustain. For a comparison of active and passive approaches, see active vs. passive relaxation techniques.
Not a Substitute for Medical Care
Progressive muscle relaxation is a general wellness and stress-management practice, not a treatment for any medical or psychiatric condition. If you experience chronic pain, muscle disorders, anxiety that significantly affects daily life, or other health concerns, please speak with a qualified healthcare professional before beginning or instead of seeking medical support.
How to Practice: The Step-by-Step Sequence
Before you begin, gather what you need and review any precautions.
What you will need
Yoga mat or padded surface
Provides a comfortable, supportive surface for lying down during the full-body sequence.
Timer or guided audio
Helps pace each muscle hold without clock-watching, keeping your attention on the sensations.
Pillow or rolled towel
Supports the neck and knees to prevent discomfort during the session.
Skip or Ease Up on Injured Areas
Never apply deliberate tension to a muscle group that is injured, in acute pain, or recovering from surgery. Simply skip that group and move on, or apply only the gentlest contraction. When in doubt, consult your doctor or physical therapist.
Settle into a comfortable position
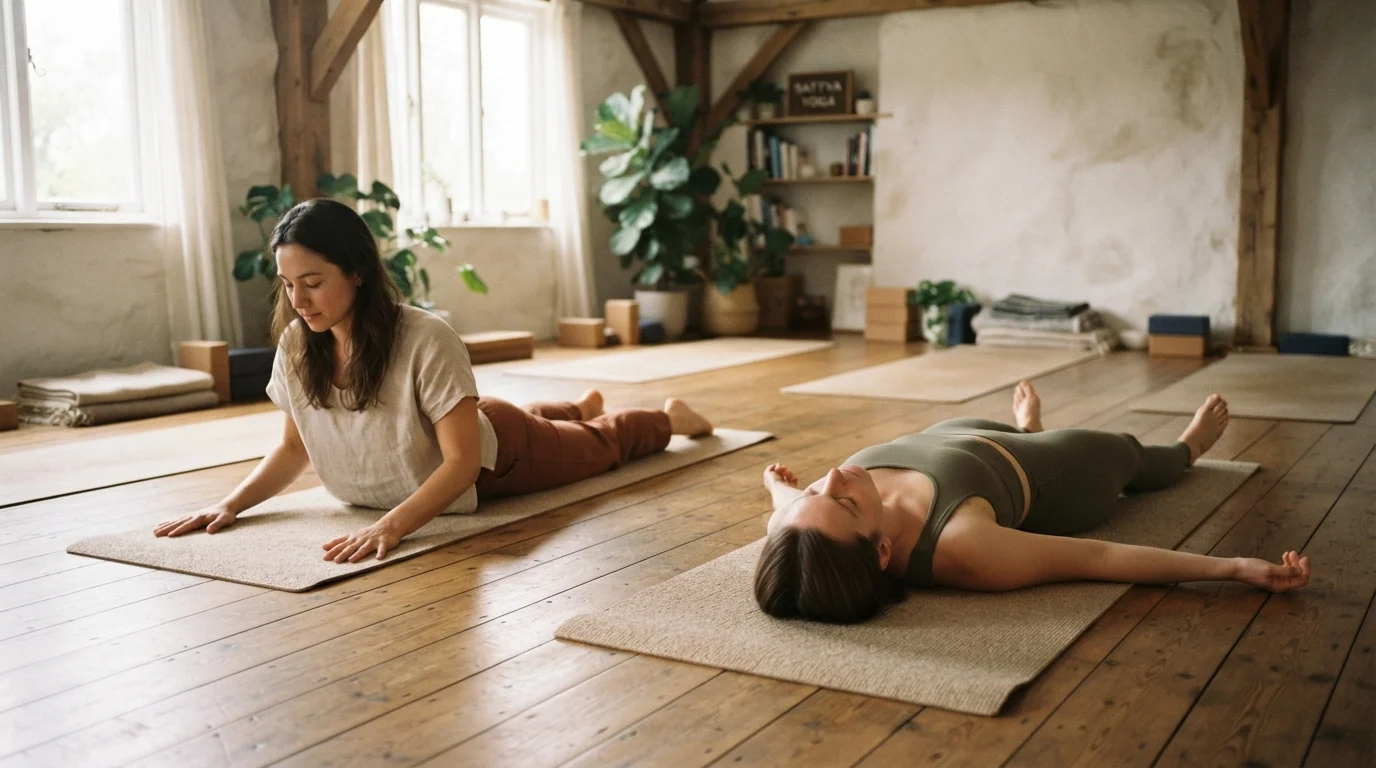
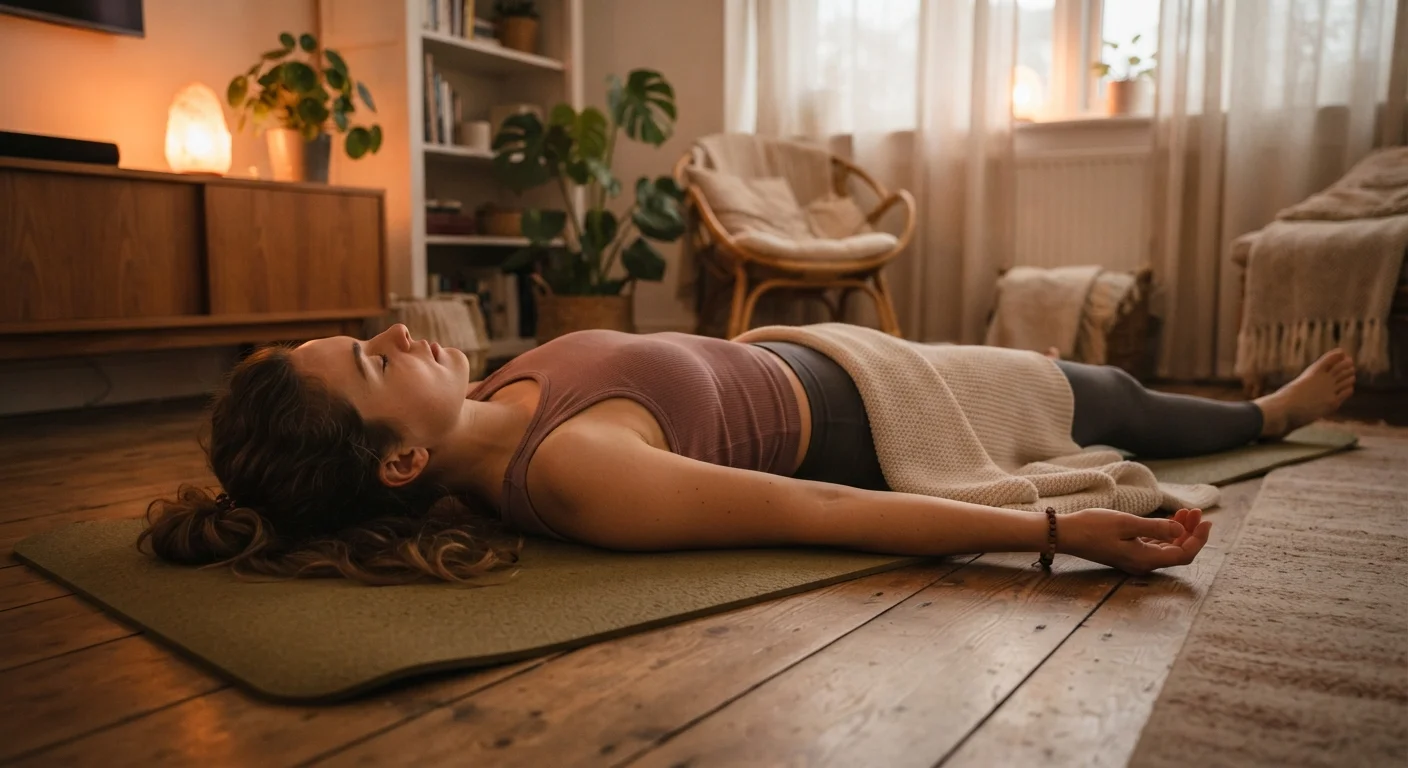
Lie on your back or sit in a supportive chair with your feet flat on the floor. Let your arms rest loosely at your sides or in your lap. Close your eyes if you feel safe doing so, or soften your gaze downward. Take three slow, natural breaths to signal to your nervous system that it is time to downshift.
Tense your feet and lower legs
Curl your toes downward and flex your feet firmly — as if gripping the floor with them. Hold that tension for 5–7 seconds, noticing the sensation of tightness. Then release completely, letting your feet go heavy. Observe the contrast: the warmth or tingling that follows release is the start of the relaxation response. Pause for 15–20 seconds before moving on.
Move to your thighs and buttocks
Squeeze your thigh muscles and tighten your buttocks as firmly as is comfortable. Hold for 5–7 seconds, then let go all at once. Feel the difference between the contracted state and the released state — this contrast is what trains your body to identify and drop tension automatically over time.
Engage your abdomen and lower back
Draw your abdominal muscles inward — as if bracing gently — while simultaneously tightening your lower back muscles. Hold for 5–7 seconds, then release. Breathe naturally; some people hold their breath during abdominal tension, which works against relaxation. Let your belly be soft after the release.
Tense your hands, arms, and shoulders
Make tight fists with both hands, bend your elbows to flex your biceps, and shrug your shoulders up toward your ears — all at once. Hold for 5–7 seconds. Then drop everything: unclench your fists, straighten your arms, and let your shoulders fall. Notice how much space your shoulders actually occupy when they are not hunched.
Release tension in your face and neck
Scrunch your entire face — squeeze your eyes shut, wrinkle your nose, clench your jaw, and pull the corners of your mouth back. At the same time, gently press your head backward into the surface beneath you to engage your neck muscles. Hold for 5–7 seconds, then release completely. Let your jaw drop slightly, your brow smooth out, and your tongue rest gently at the bottom of your mouth.
Scan your whole body and rest
Starting at your feet and moving upward, do a gentle mental sweep of each area you worked through. If any spot still feels tight, apply one more gentle tense-and-release cycle there. Then simply rest for 2–3 minutes. When you are ready to finish, wiggle your fingers and toes, take a deeper breath, and slowly open your eyes before sitting up.
Pairing PMR with Slow Breathing Deepens the Effect
Try inhaling slowly as you tense each muscle group, then exhaling fully as you release. This pairing engages both the muscular and respiratory pathways of relaxation simultaneously. Even five slow, complete breaths at the end of a session can reinforce the calming response.
Building a Sustainable Practice
A single session of PMR can bring noticeable relief, but the longer-term benefits — reduced baseline anxiety, improved sleep onset, and greater body awareness — tend to emerge with consistent repetition. Even two or three sessions per week can make a meaningful difference over several weeks.
If you find your mind wandering or the technique feeling effortless, that is actually a sign of progress rather than failure. Our guide on why relaxation techniques sometimes feel like they're not working addresses common obstacles and how to adapt.
PMR fits naturally into stress relief habits alongside other evidence-informed approaches. You might also explore calming practices beyond deep breathing to see which complementary techniques suit your lifestyle. Over time, many people find that the tense-and-release contrast becomes second nature — a reliable tool they can call on whenever stress starts to accumulate in the body.
This article is for general informational purposes only and does not constitute medical advice. If you have health concerns, please consult a qualified healthcare professional.